

Testimonials
FAQ's
Have a different question? Contact us.
Are your products handmade?
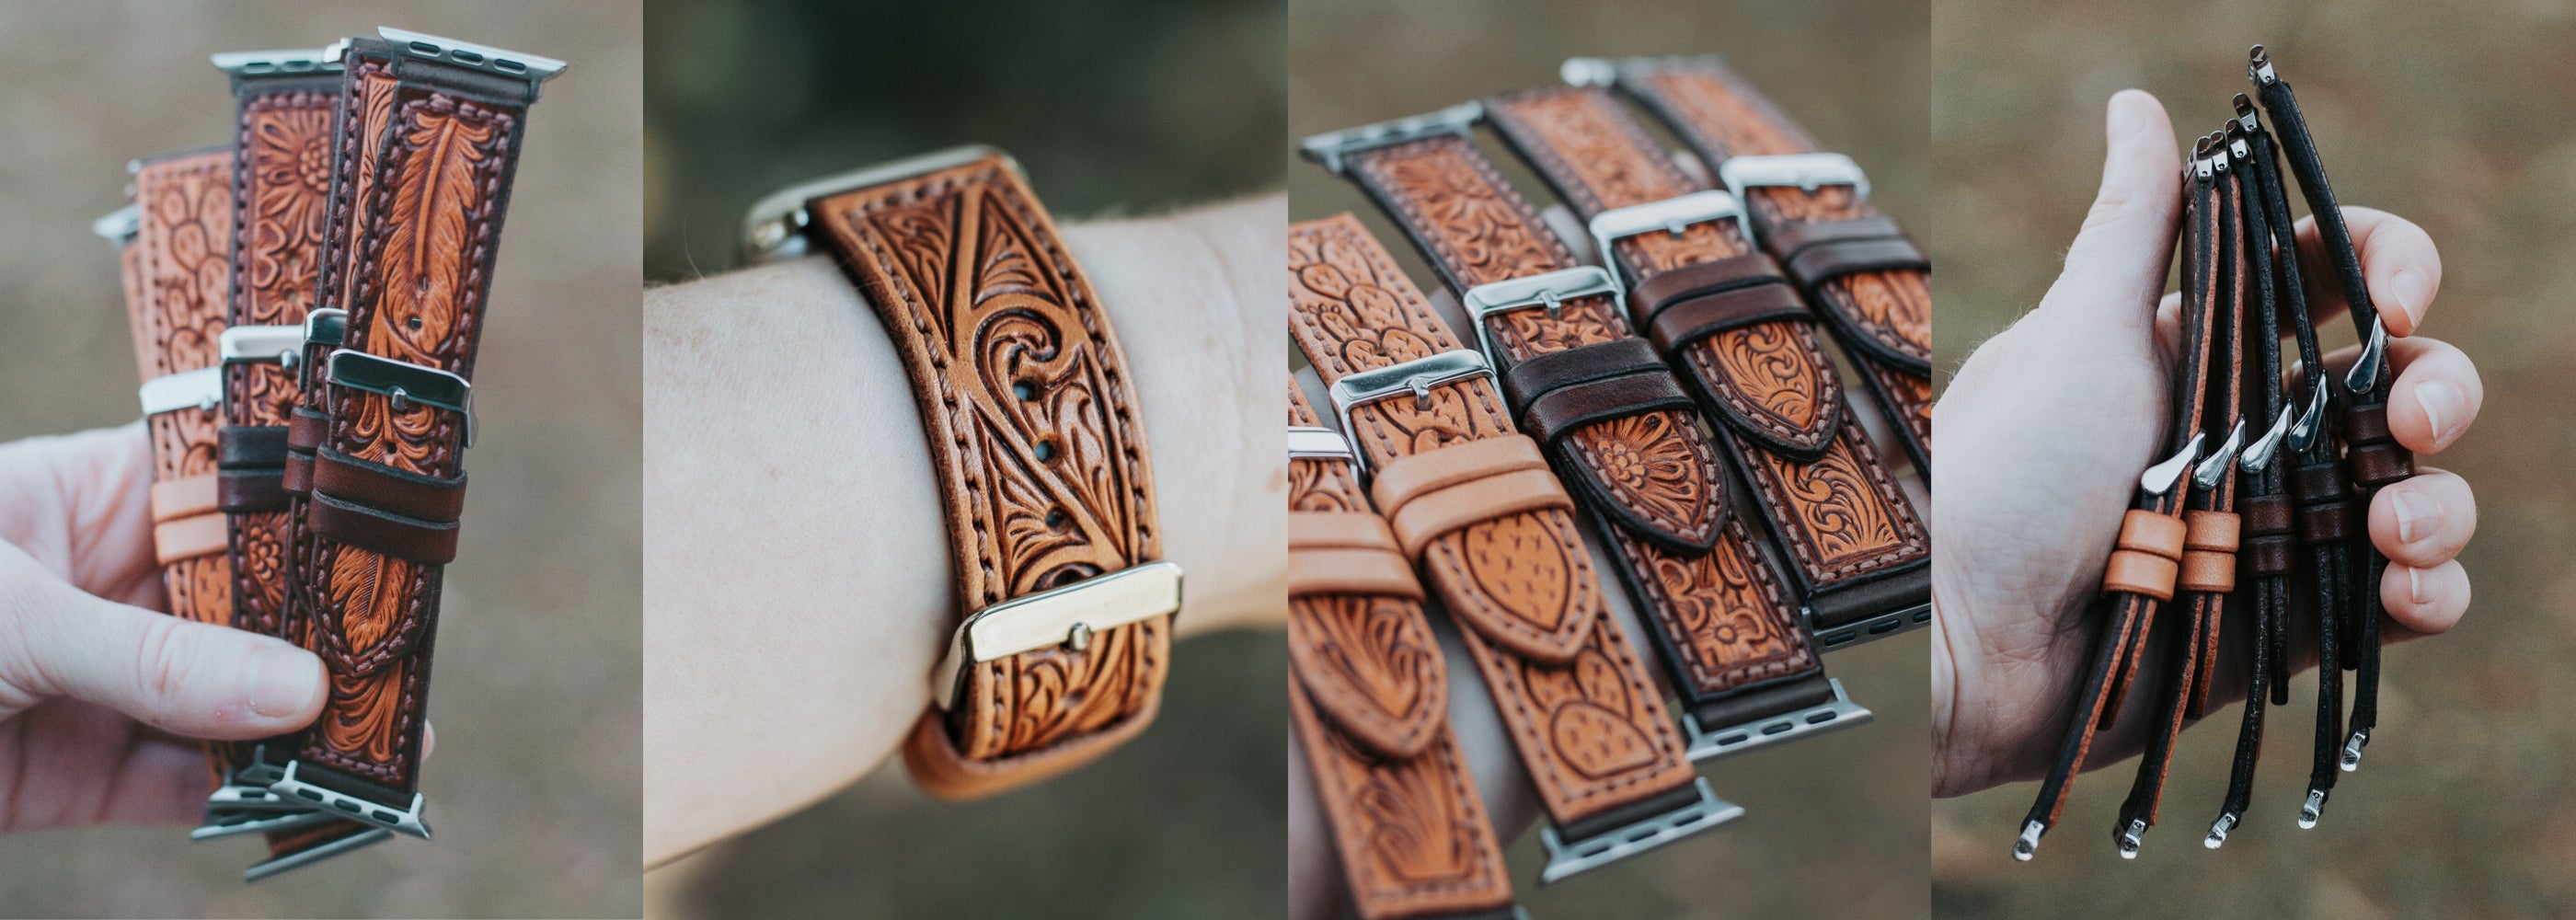
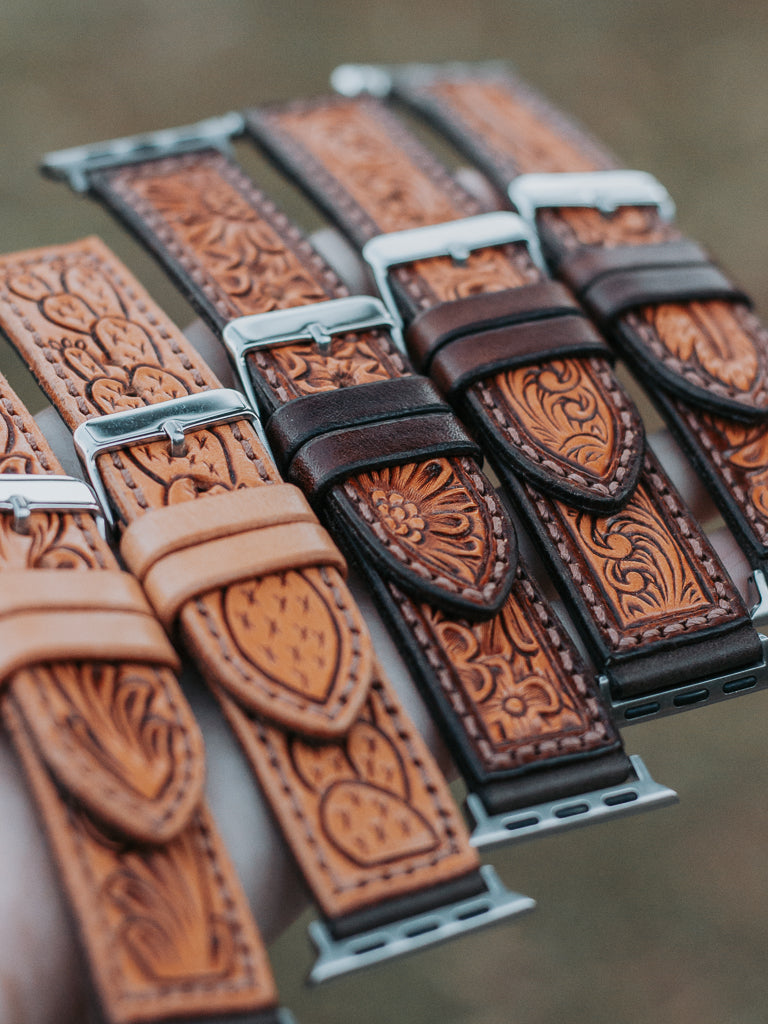
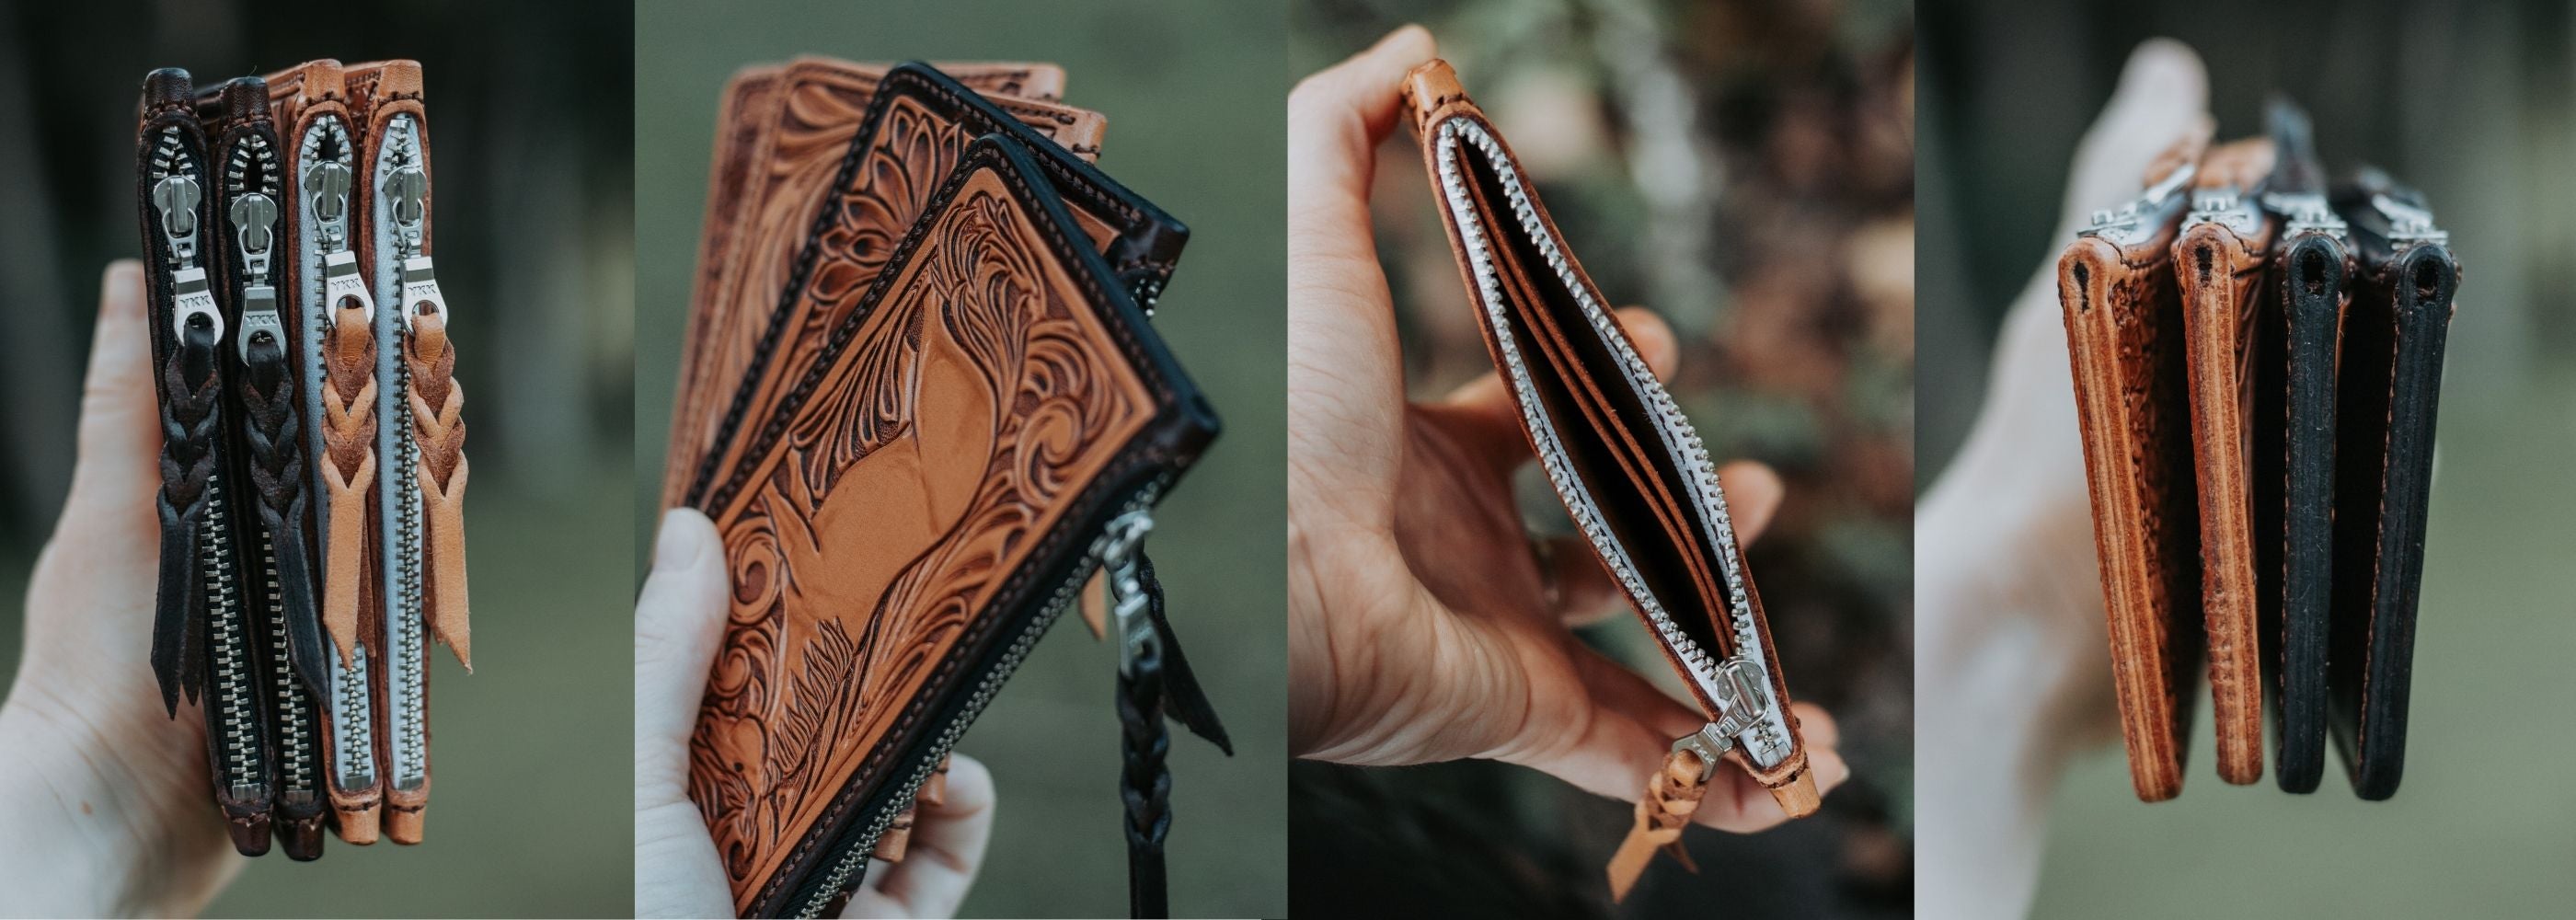
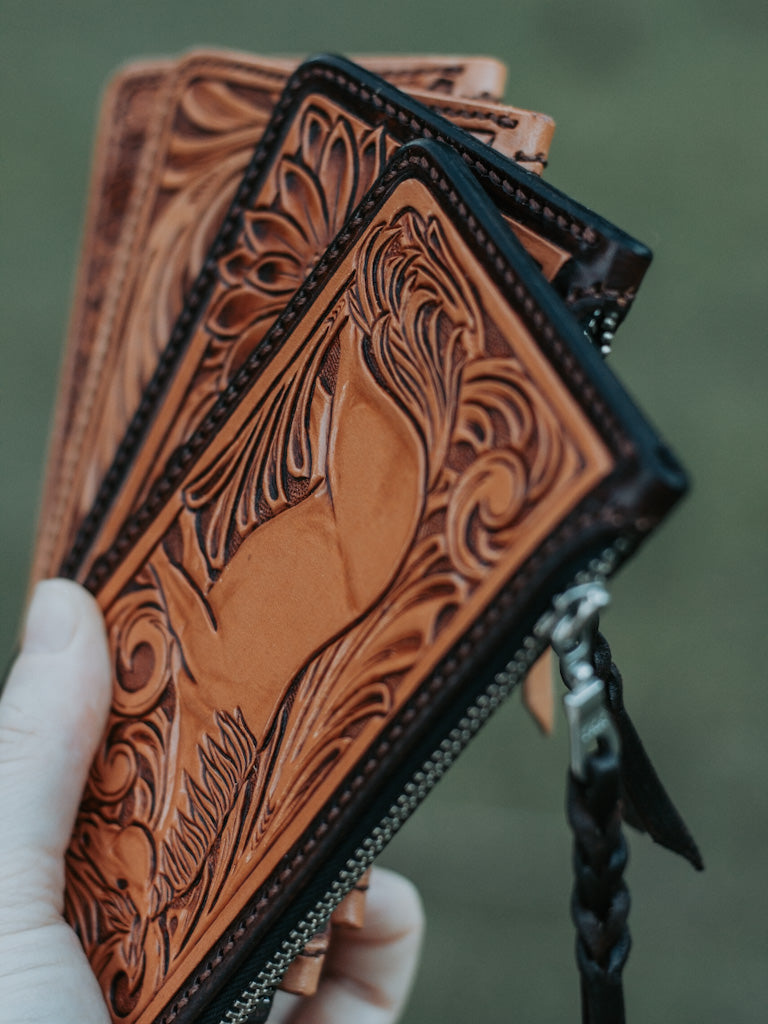
Yes! Every item is handmade by me using high quality materials and crafted with care from beginning to end.
What materials do you use?
For leather I use Hermann Oak Veg-Tan Leather for all the stamping, carving and tooling work. Otherwise I use a variety of types and colours of Bovine leather which is primarily Chrome Tanned.
For hardware I use Solid Brass or Stainless Steel wherever possible.
For paints I use the Angelus acrylic leather paints and for the dyes, sealer and glue I use Fiebing's brand.
And the thread I use is Coats Dabond, a heavy duty, UV resistant thread.
What products can I customise?
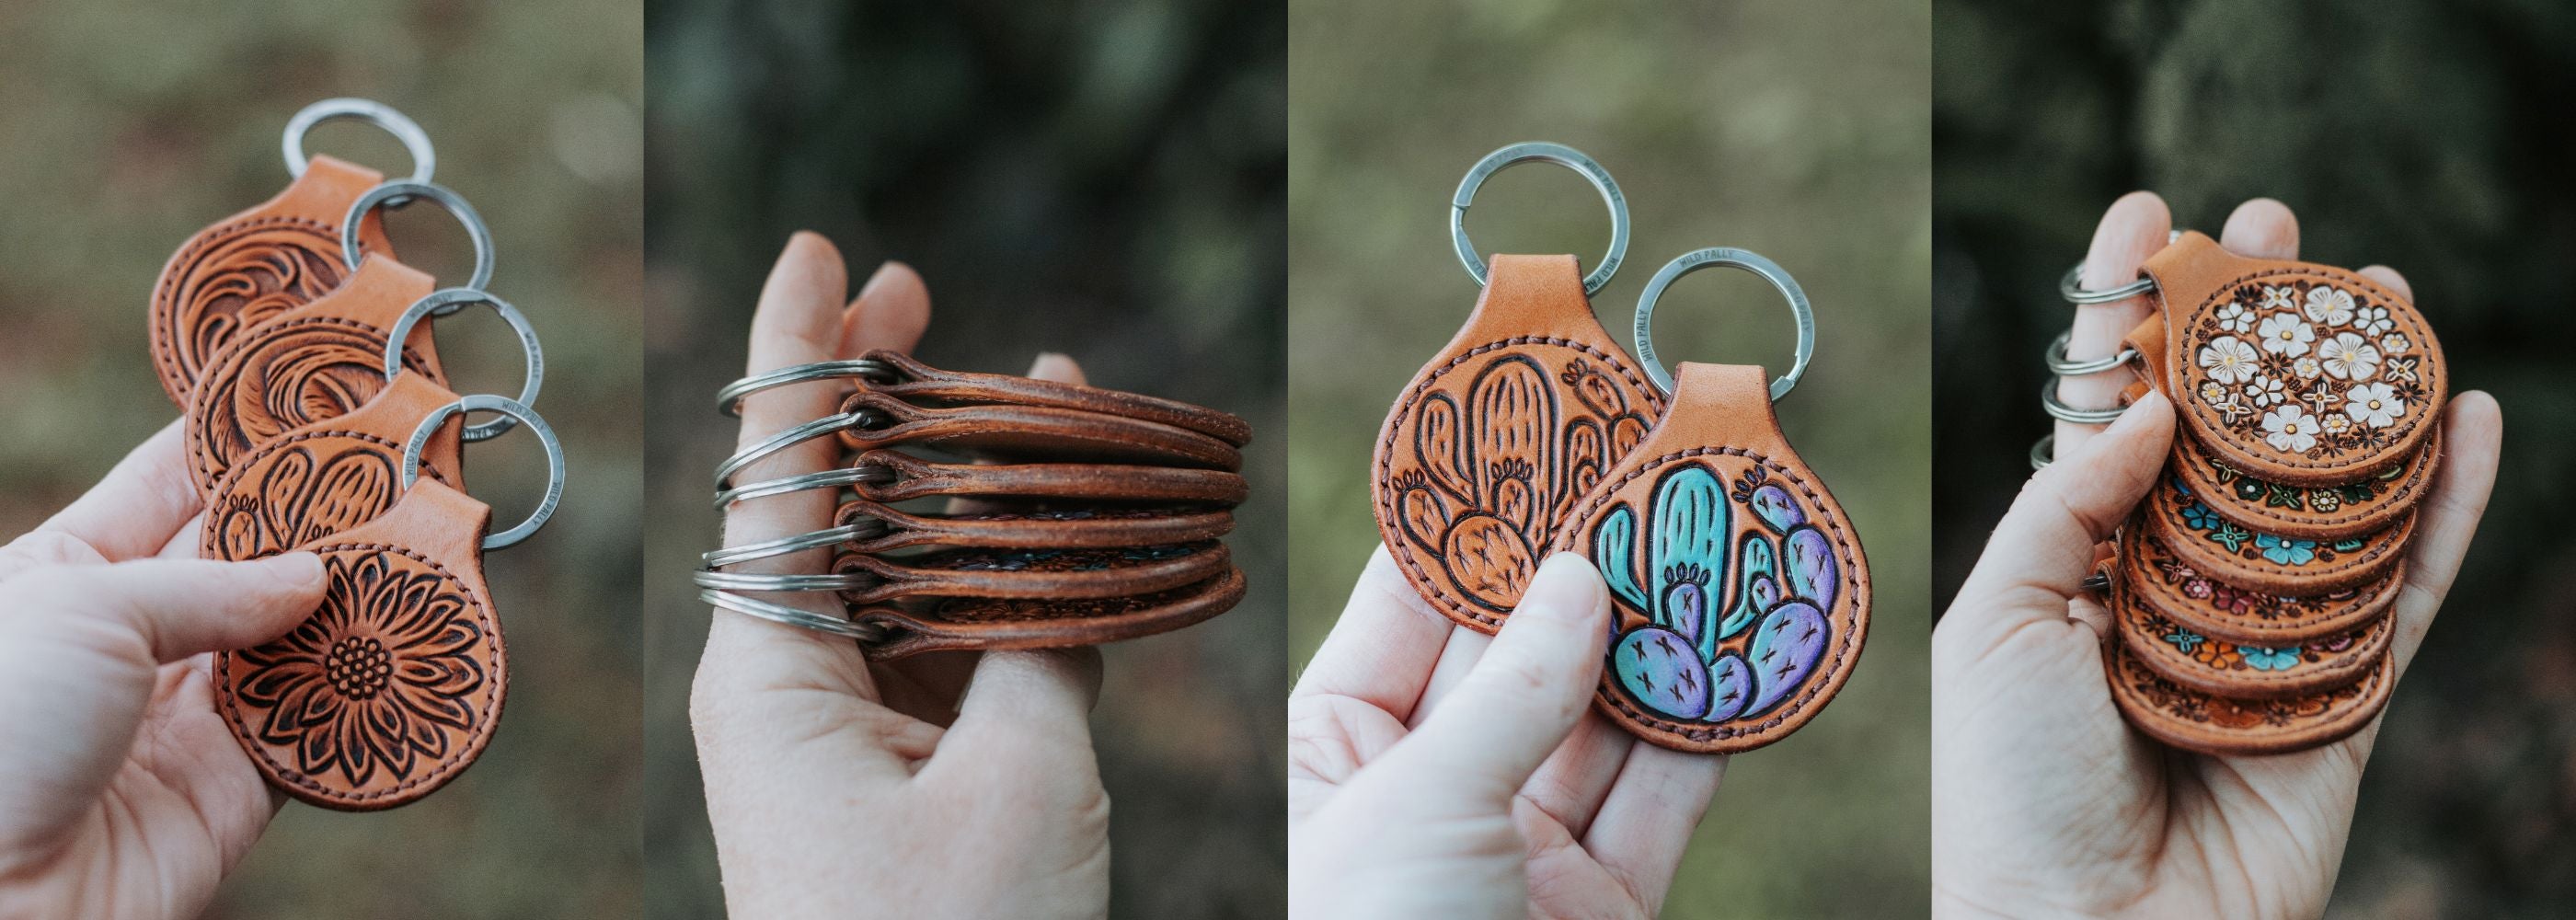
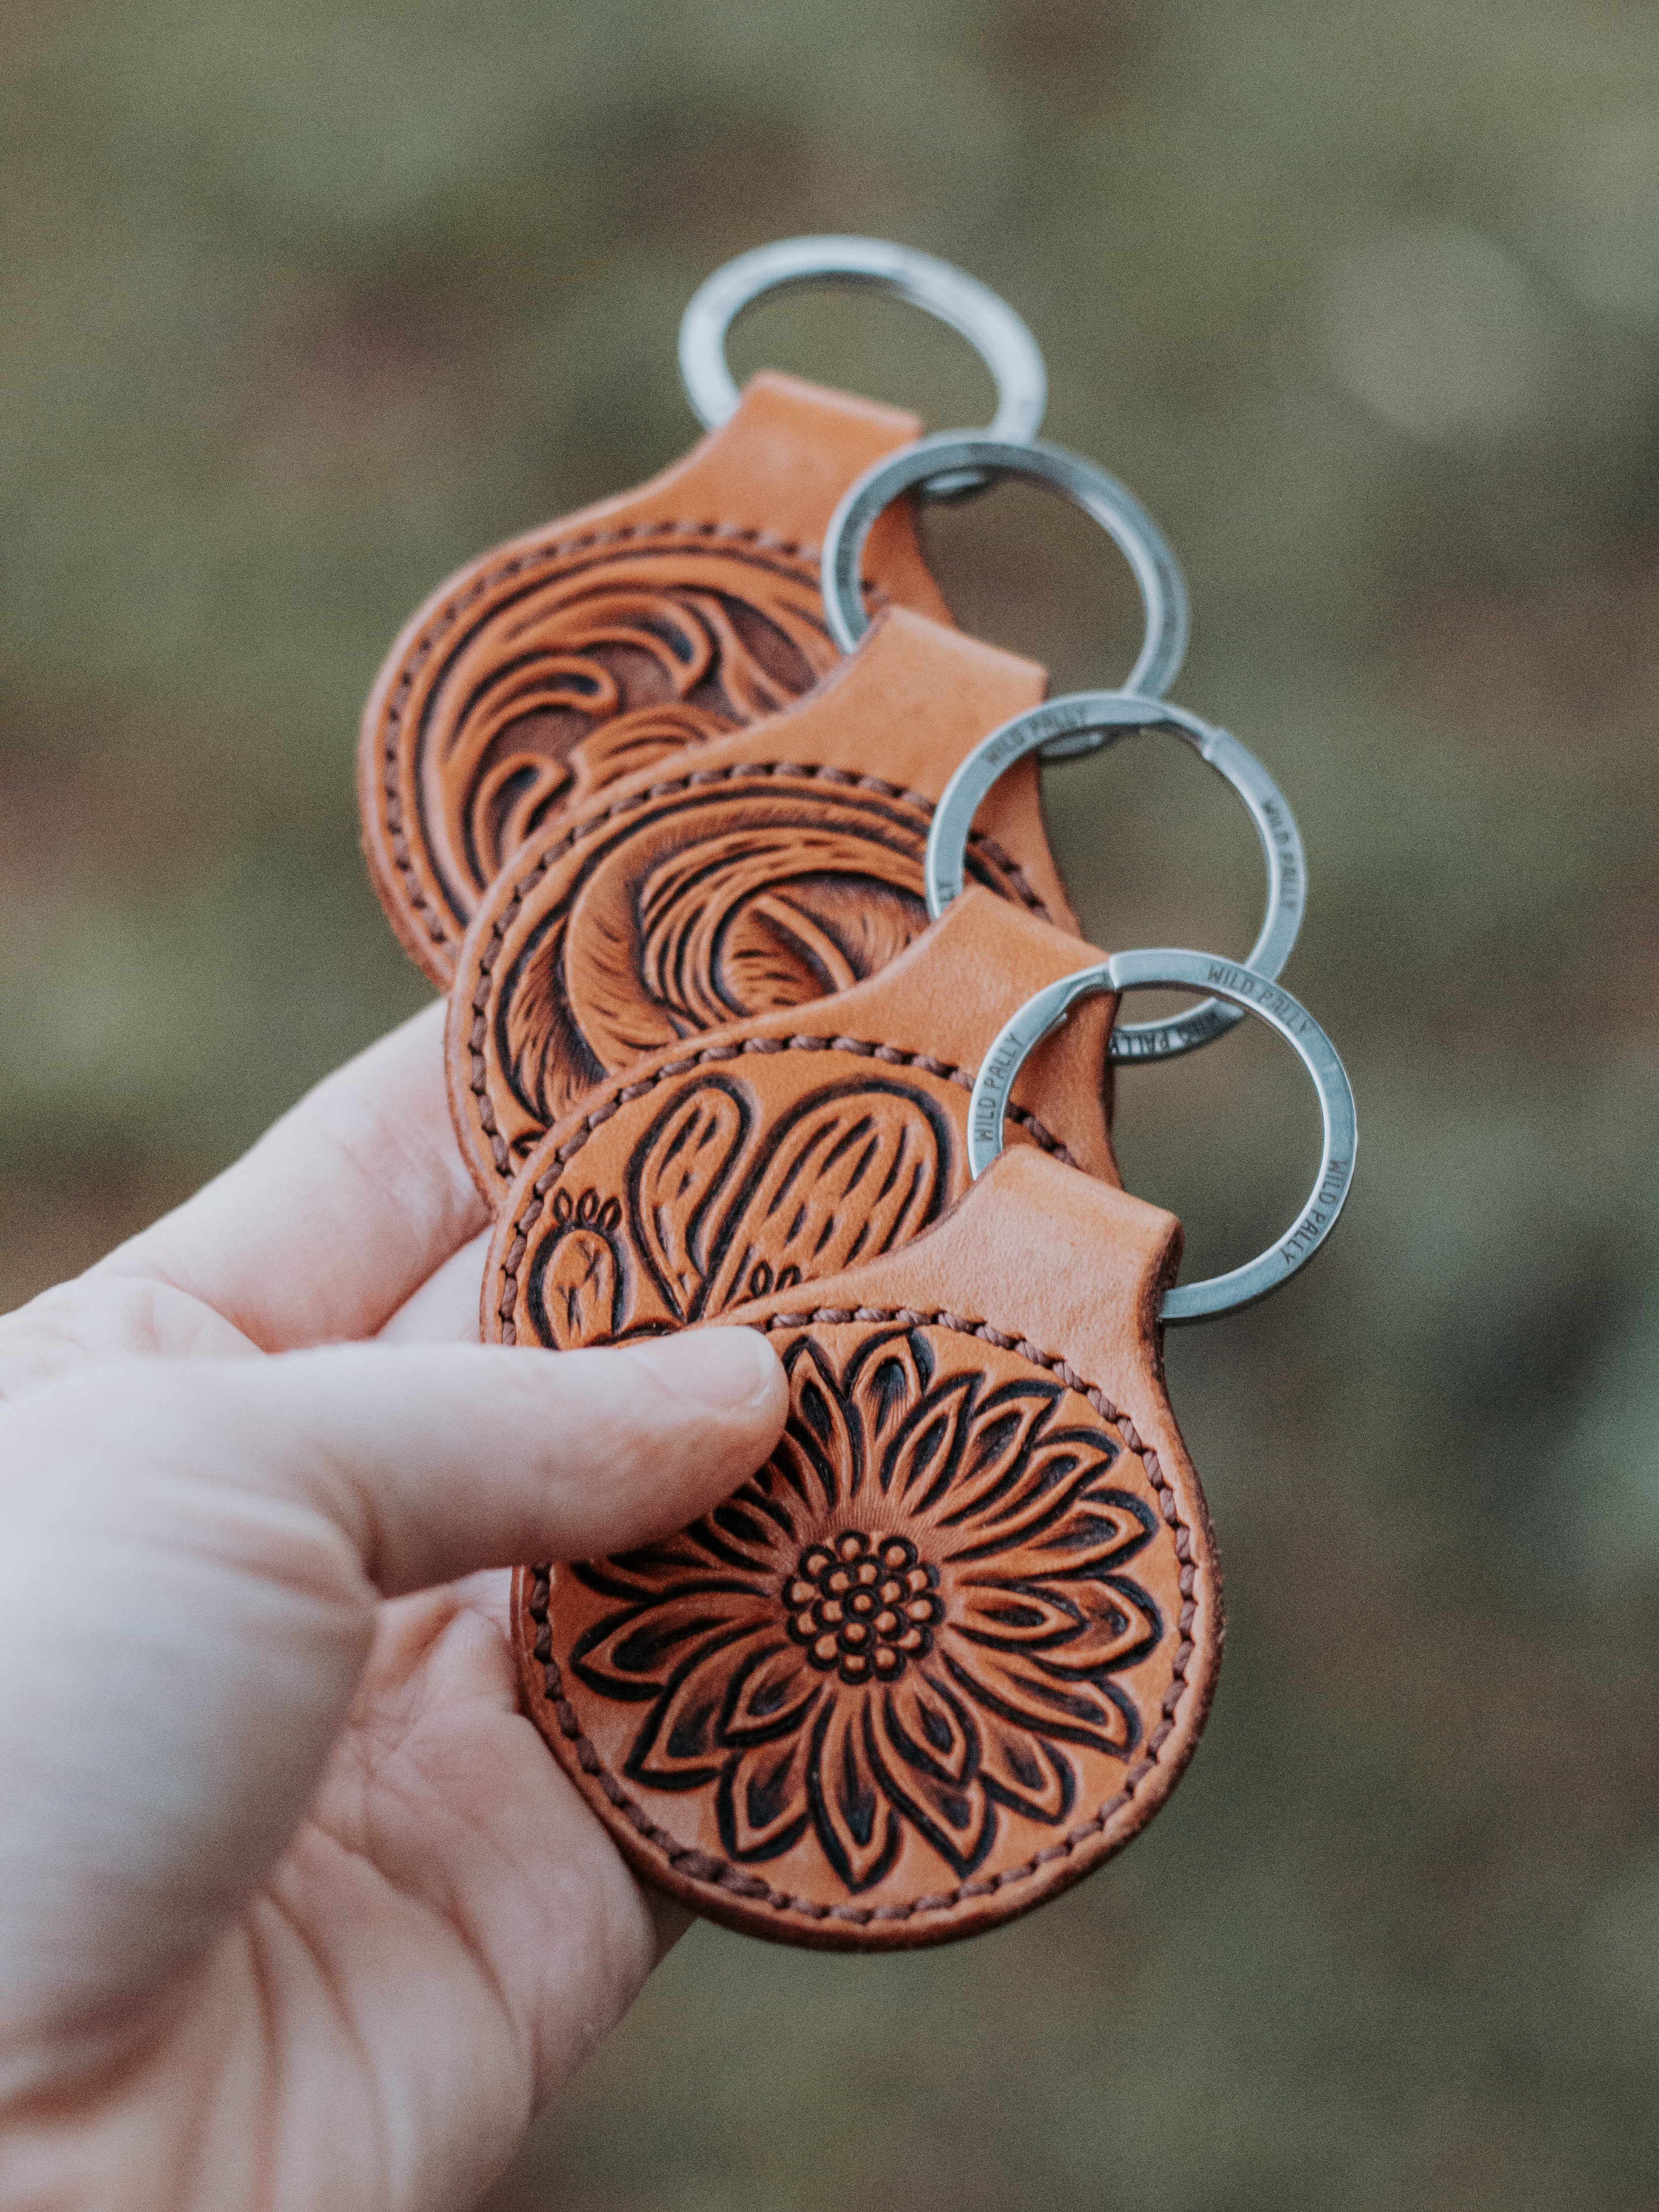
All the Keyrings can be customised both on the front by choosing from a variety of colours. Or by customising the back with you name and phone number, available in a variety of styles and colours.
If you would like to customise a different product feel free to contact us.
How long will it take to get my order?
Ready made products take 1 - 3 business days to dispatch.
Made to order products will need to be made and depending on complexity some products will take longer than others so the dispatch time will be specified on product pages.
Shipping time will depend on location. Please see our shipping policy for details.


